When building websites in Divi, I often want to have two buttons next to each other (on ‘one line’) in order to give the users two CTA options. By default, the next button you add will automatically end up below the first one. In this tutorial, I’m going to show you and explain a trick that solves the issue.
1. Create a layout and add two (or more) buttons

2. Give your buttons a custom class
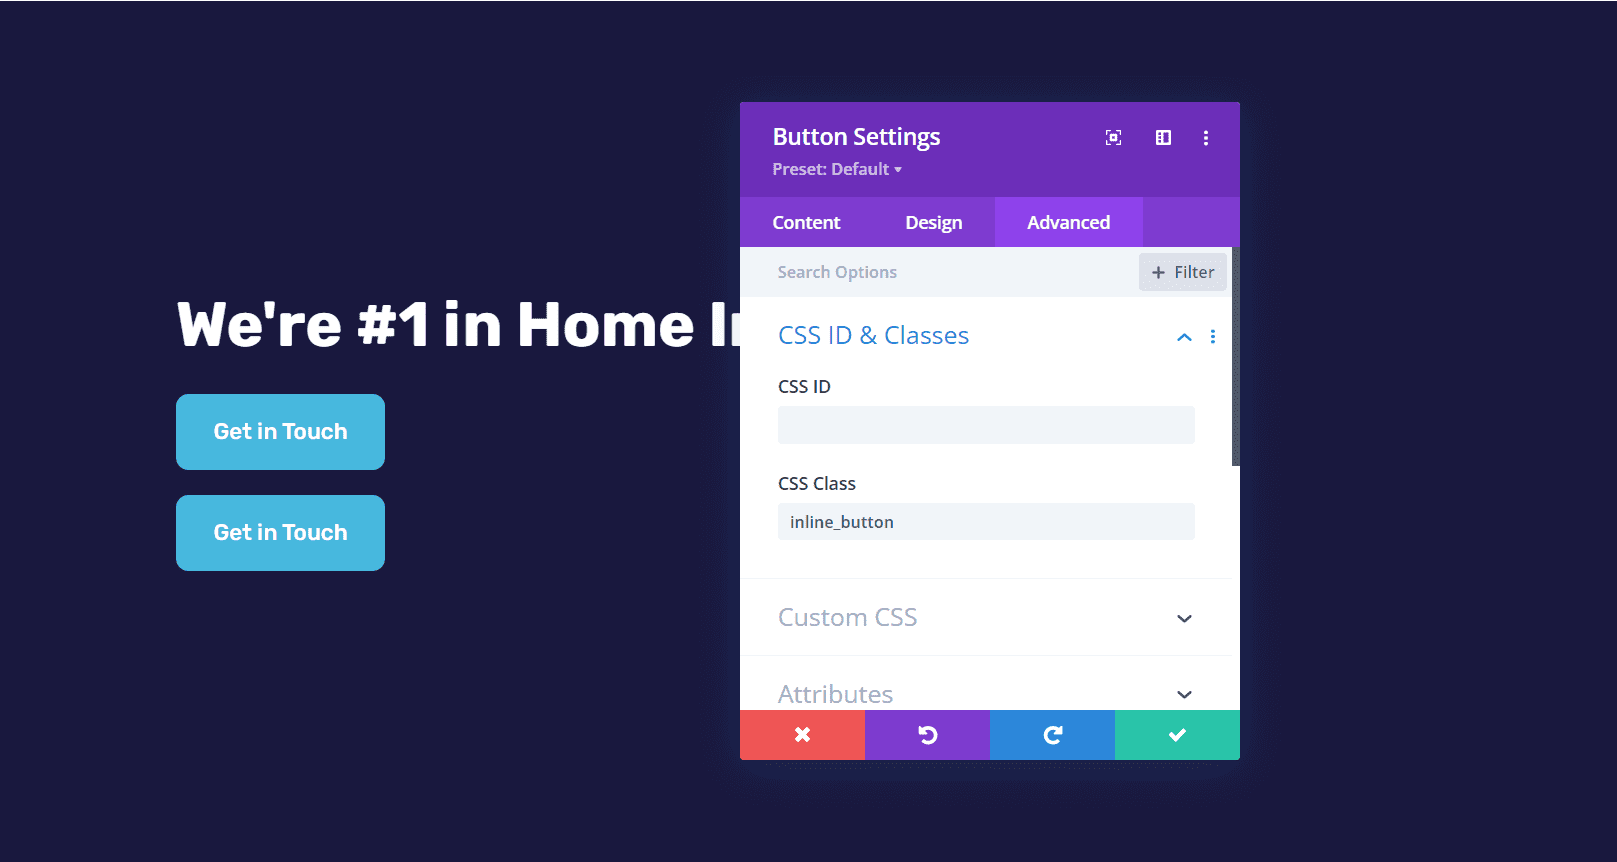
Open the settings on your button modules → go to the Advanced Tab → CSS ID & Classes and give your button inline_button class (you can use your own unique class).
3. Add jQuery snippet
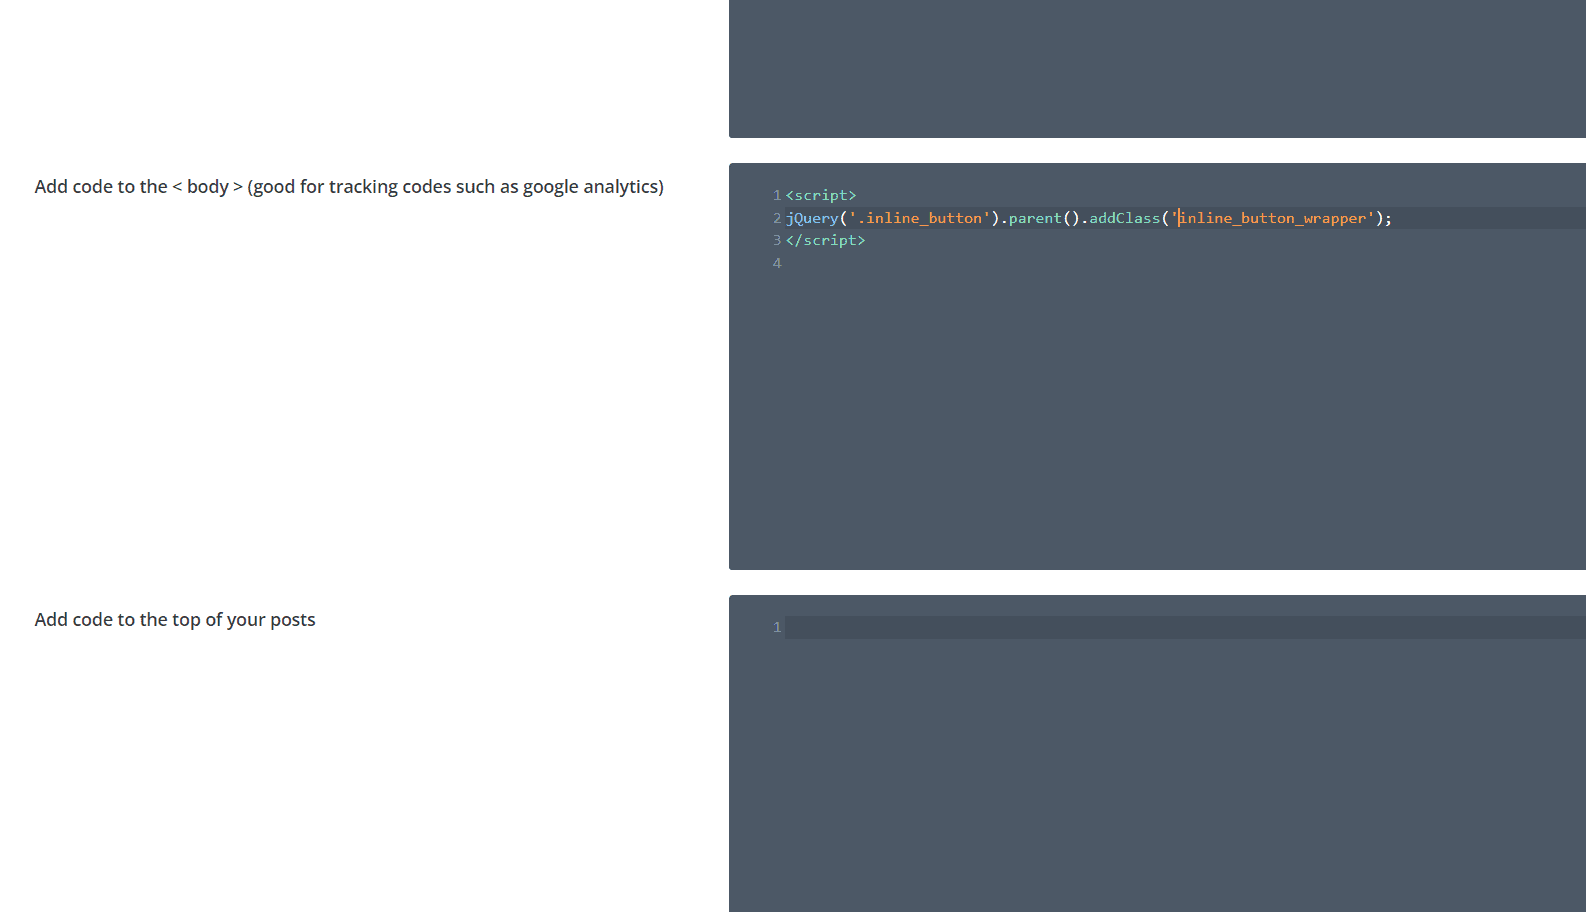
Go to Divi → Theme Options → Integration and add a jQuery snippet below to the body. Make sure that Single body code is enabled.
<script>
jQuery('.inline_button').parent().addClass('inline_button_wrapper');
</script>
4. Paste a CSS snippet
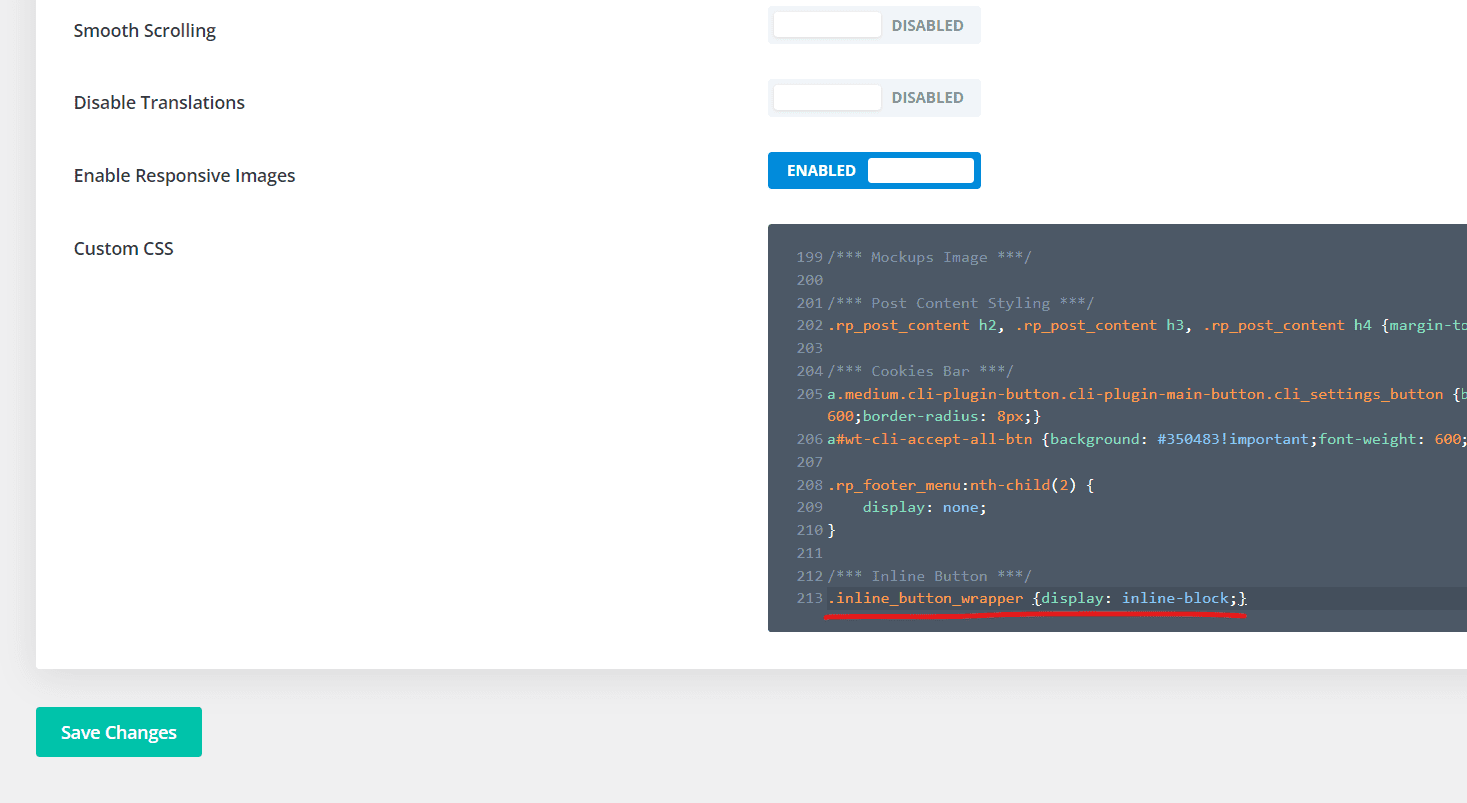
Go to Divi → Theme Options → Custom CSS and paste this code snippet:
/*** Inline Button ***/
.inline_button_wrapper {display: inline-block;}
5. Align the buttons to the center (optional)
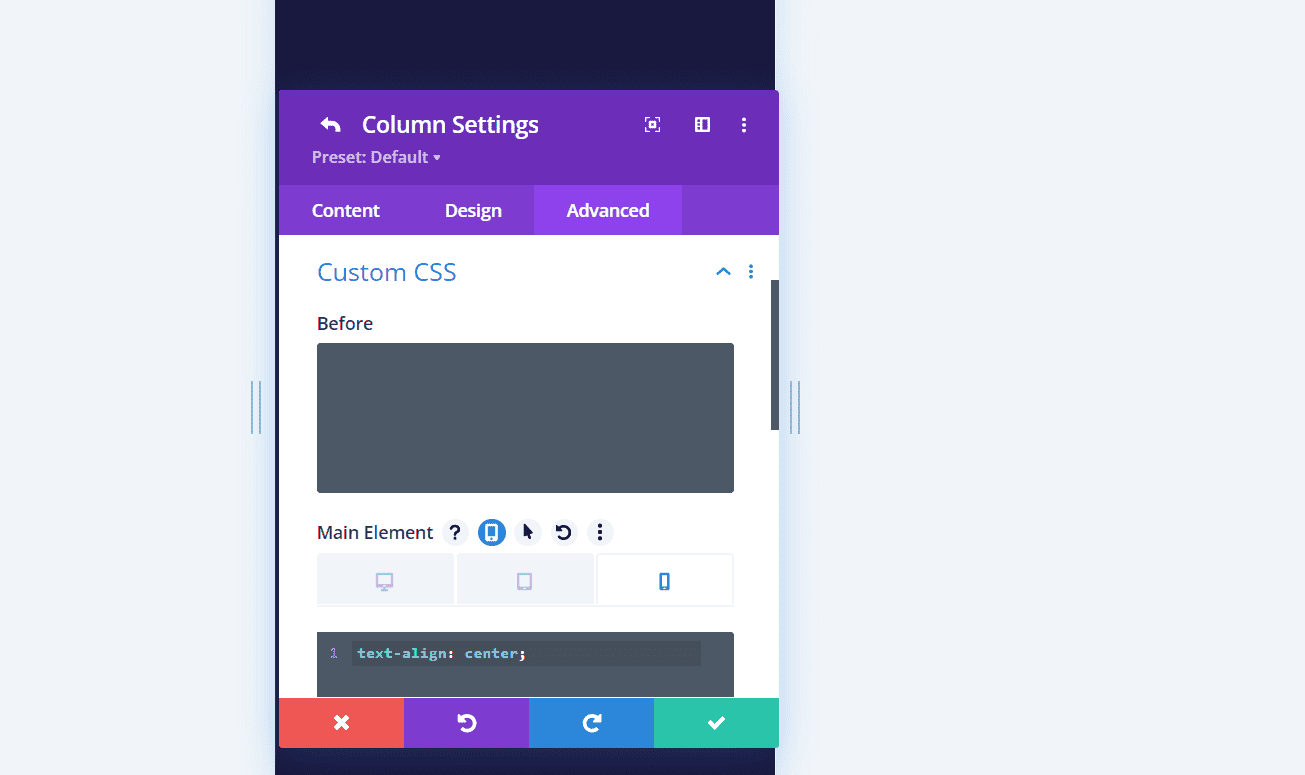
You may want to align your buttons to the center on mobile or on all devices in some cases. Go to Row Settings → select the Column your buttons are in → go to the Advanced Tab of the Column → Custom CSS → Main Element and paste the code below:
text-align: center;
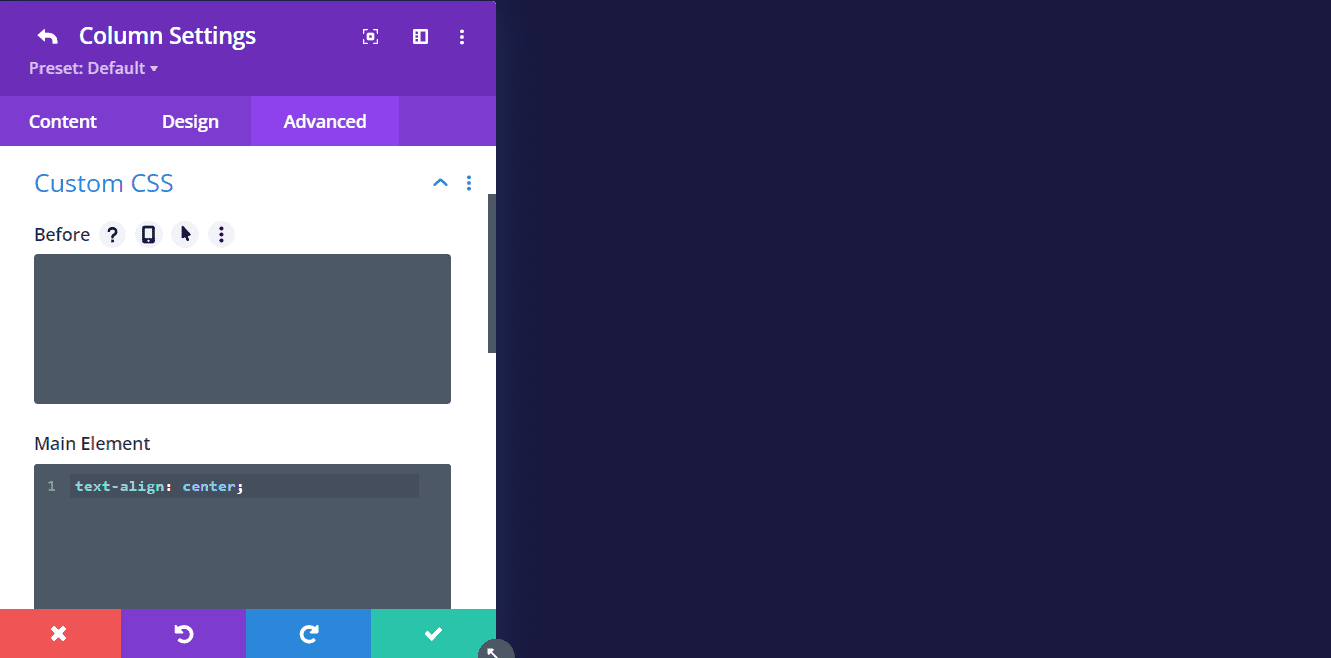
If you’d like to center them on mobile only, hit the mobile icon first and select mobile. Paste the code there only.
From now on, you can just add the inline-button class to your buttons anywhere on your website and the buttons will be displayed next to each other.

