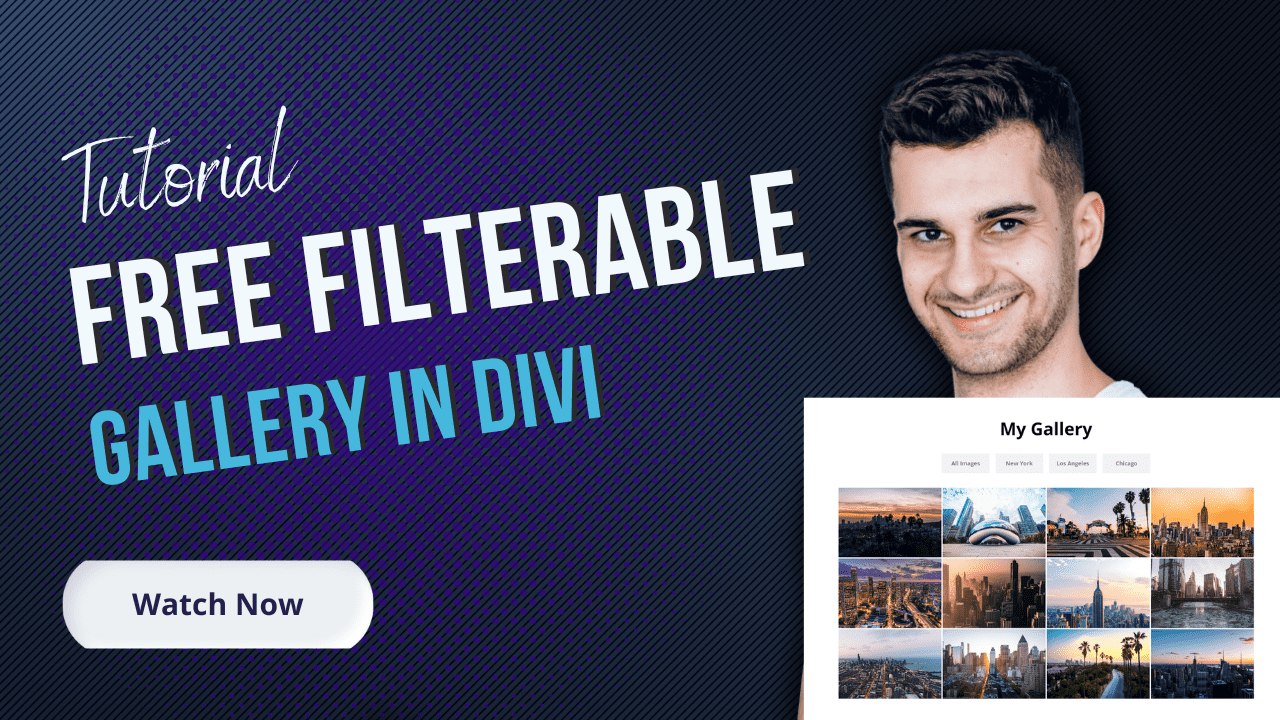
Even though you can filter your projects based on their category in the Filterable Portfolio module, you couldn’t do so with the Blog Module. This is now possible thanks to an amazing Divi Filter plugin by Daniel Voelk – for free! With the plugin’s premium version, you can add some cool features such as active button styling, animations, and more.
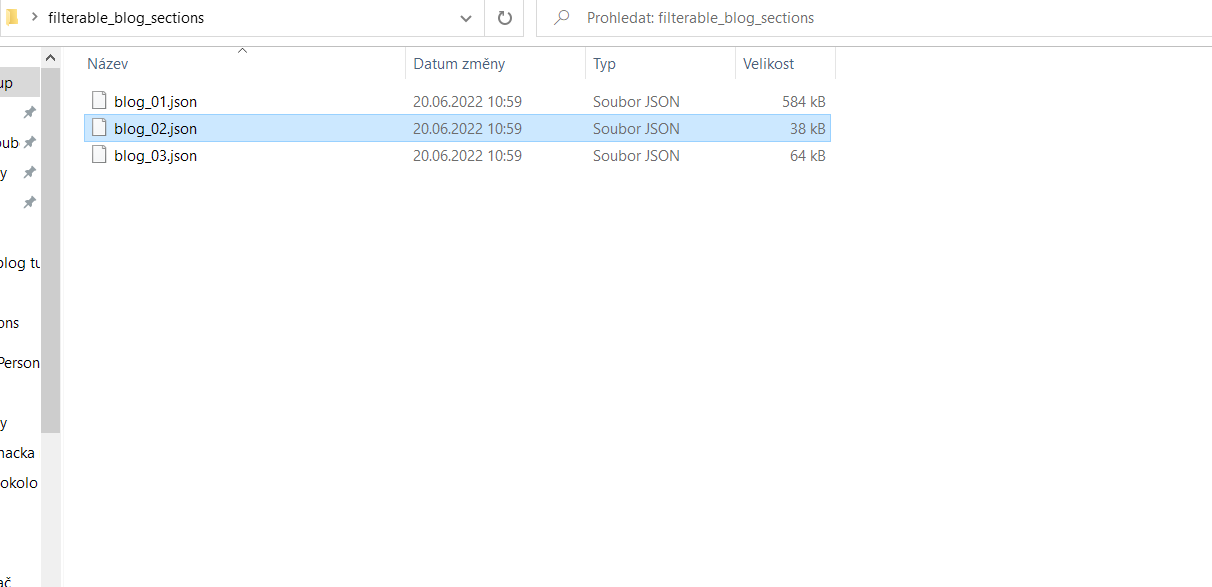
You can also download 3 filterable blog layouts I prepared for you as a freebie.
Follow the tutorial below to create your own filterable blog module.
1. Create your posts and post categories
Simply create your posts and assign them to post categories.
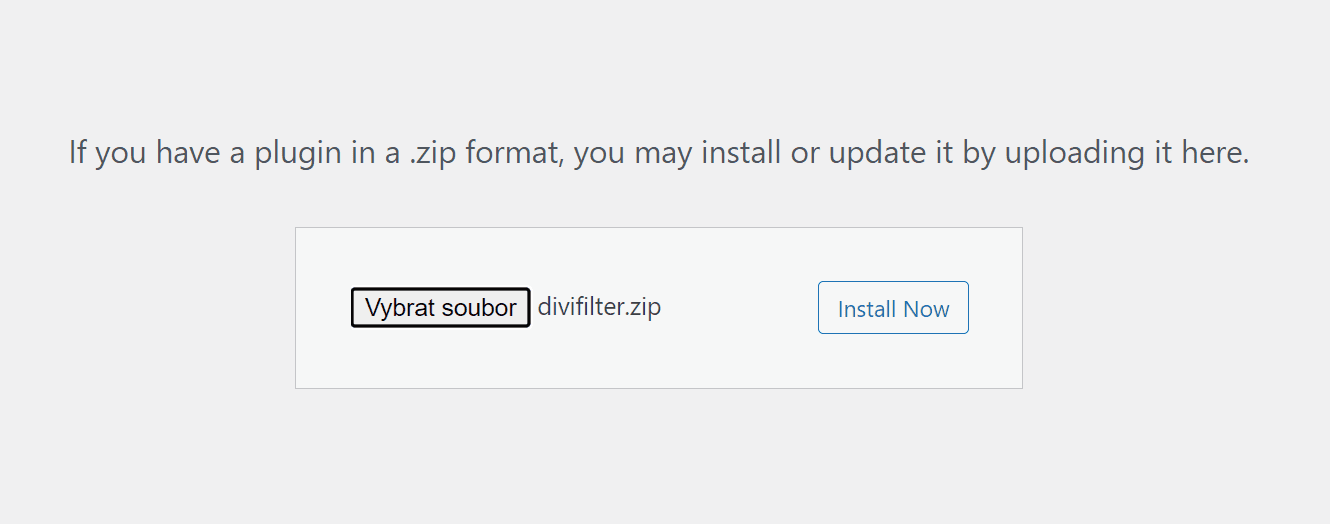
2. Download the free Divi Filter plugin from Daniel Voelk
Download the plugin from the official website for free and install it. For the purpose of this tutorial, you’ll only need the free version. However, you can add some cool features such as animations and active button styling if you decide to go for the premium.
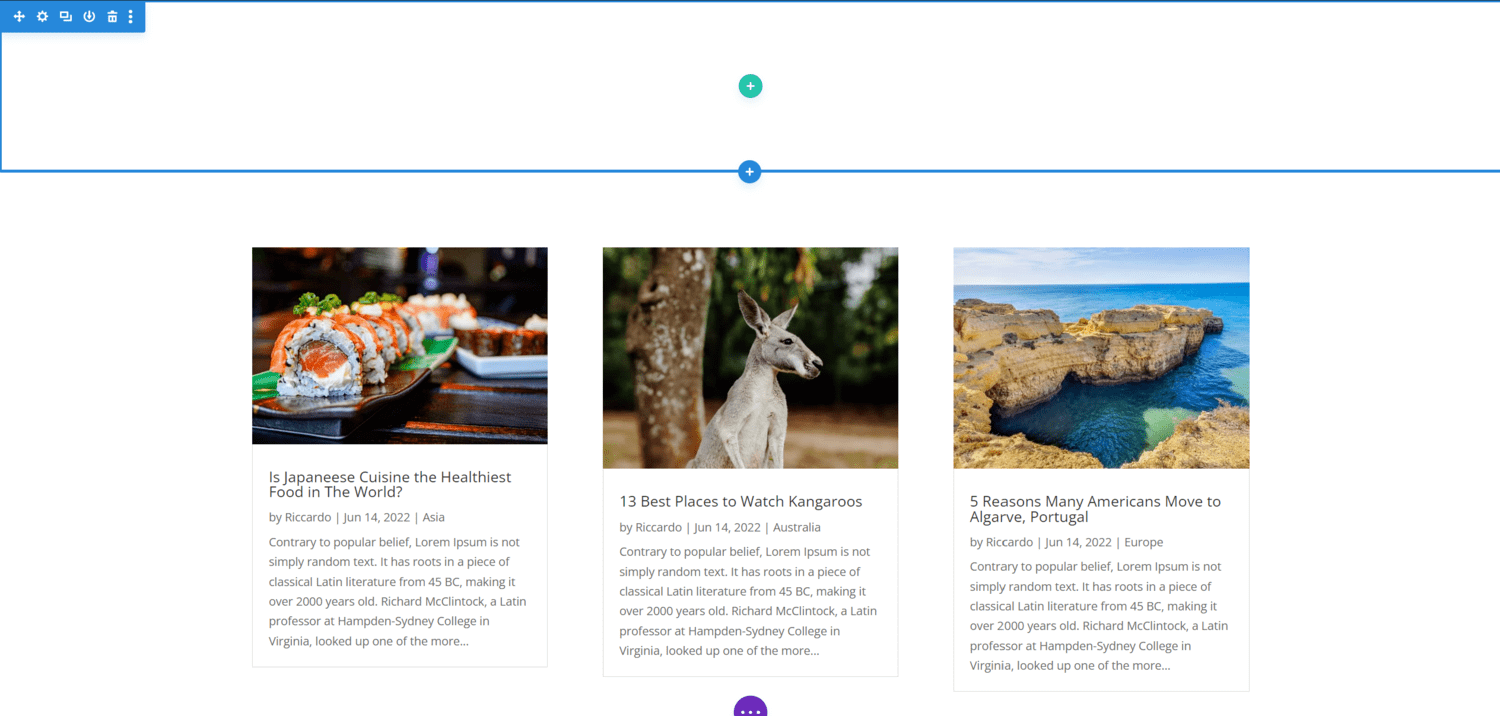
3. Create your blog section
Create a new section on your page and add a blog module.
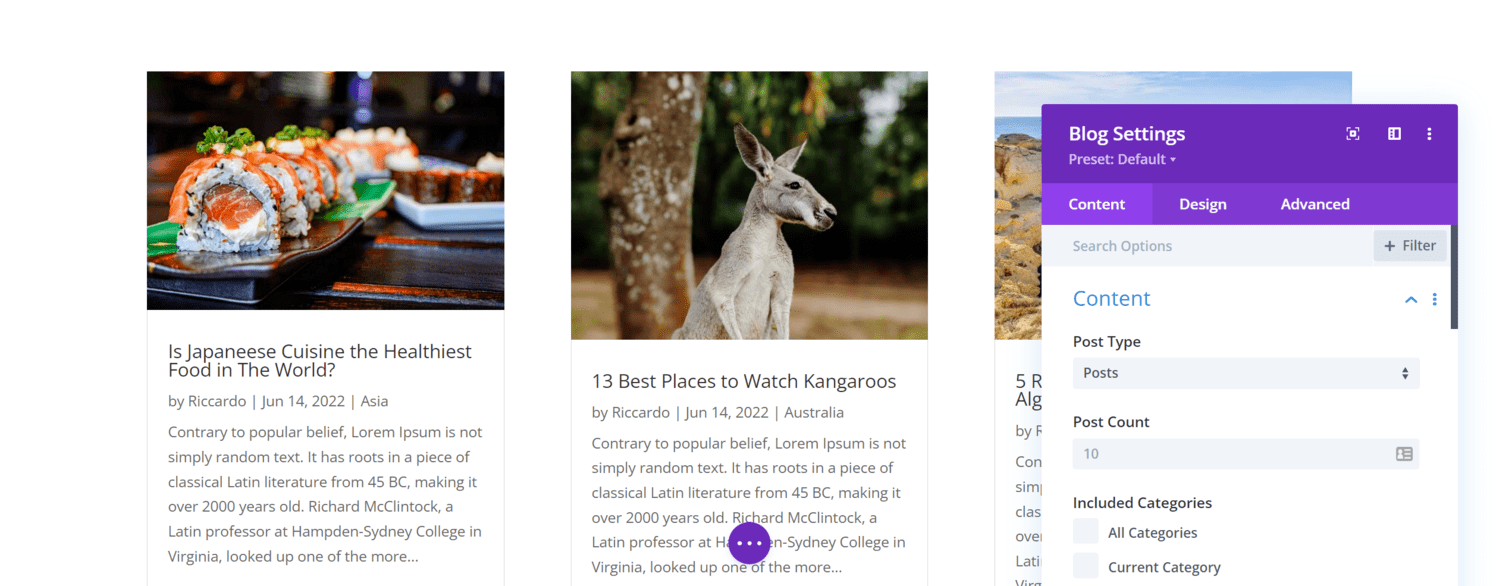
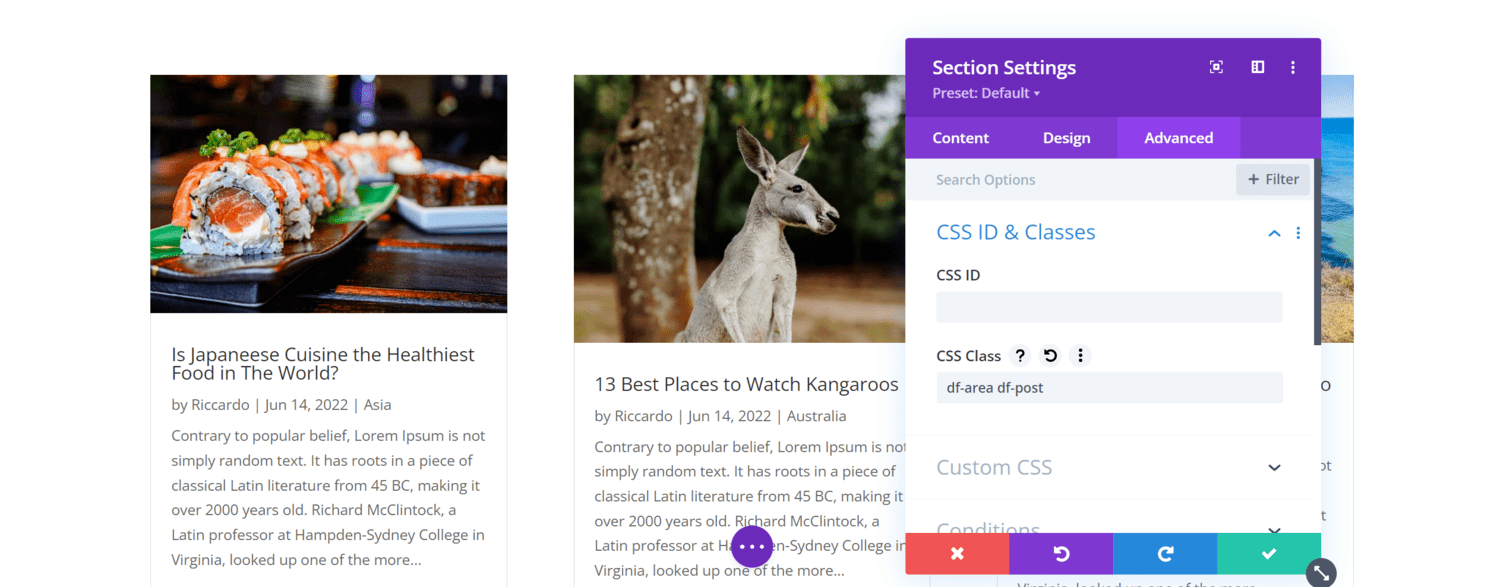
4. Give your blog section df-area and df-post classes
Open the section settings, go to the Advanced Tab → CSS ID & Classes, and add df-area & df-post classes.
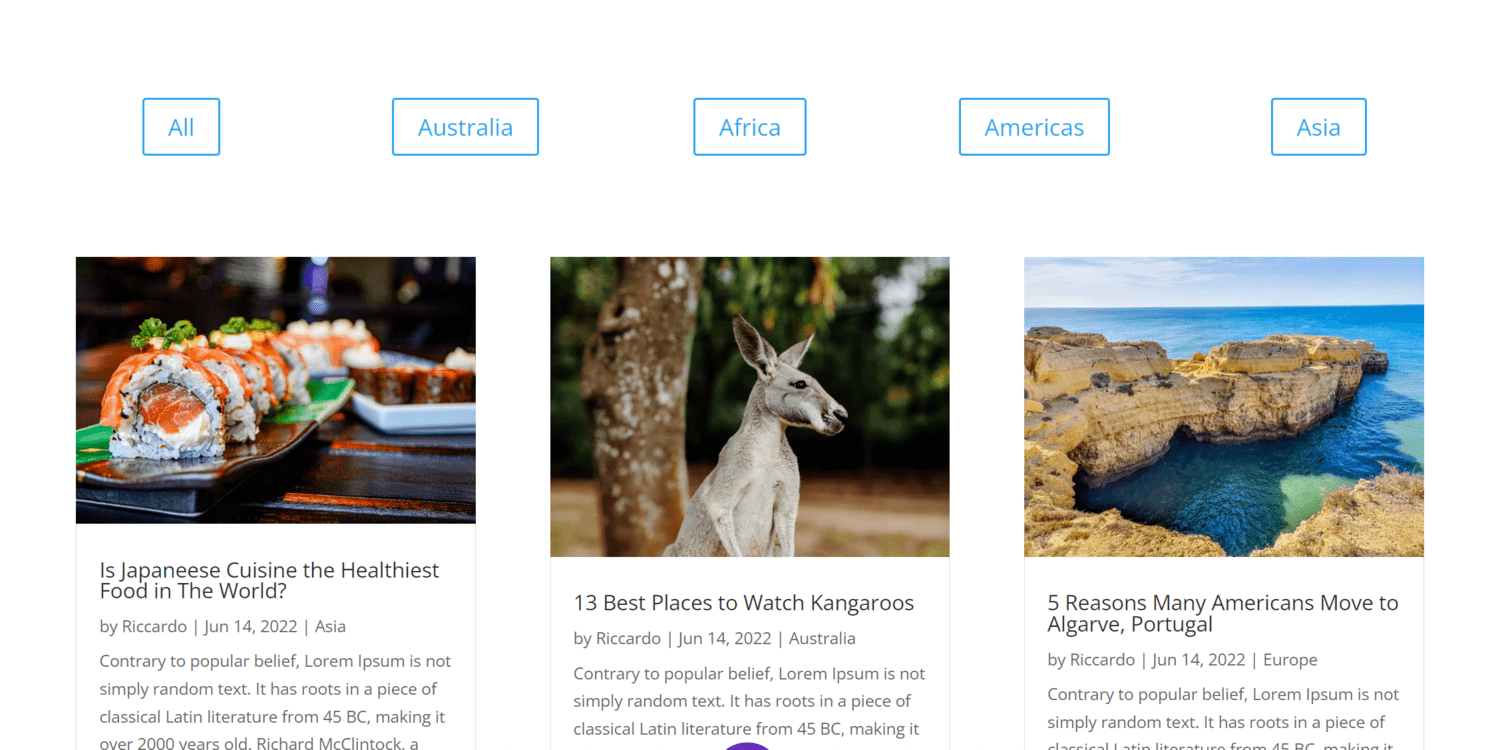
5. Insert a new section above the blog section
Create a new section and place it above the section with our blog module. This is going to be a section with our filtering buttons. You can also have other elements in this section, it’s only important to have the filtering buttons in a different section than our blog module.
6. Create your filtering buttons
Add filtering buttons to the newly created section. You can use other modules for the filtering as well (text module, images, blurbs, etc.). If you want to know how to display more buttons next to each other without using the columns, check out my tutorial.
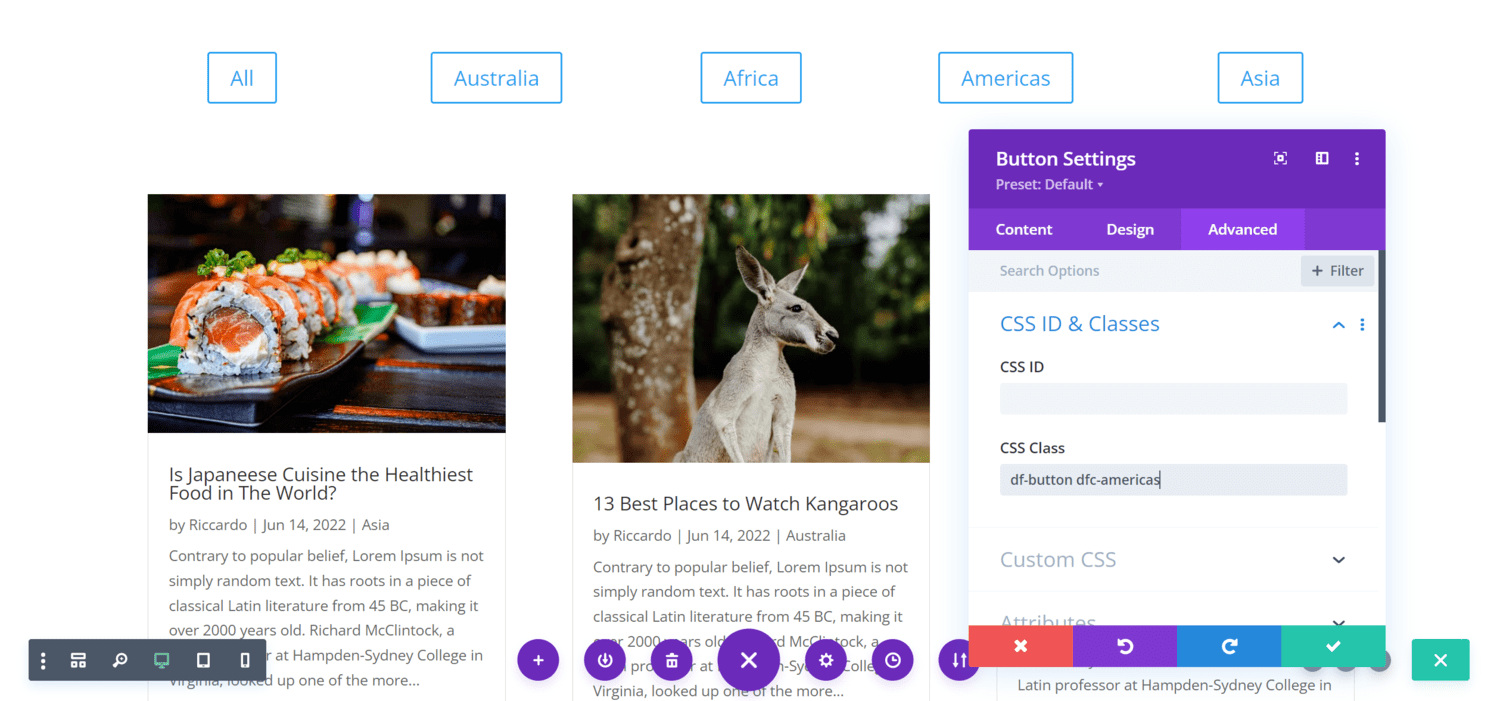
7. Add df-button & dfc-yourcategory classes to your buttons
To each filtering button (or another filtering module), add a df-button class. Additionally, add a class of the particular post category dfc-yourcategory. For example, if my category is Africa, I add the dfc-africa class in addition to the already added df-button class. For the Americas category, my class would be dfc-americas. It is always the slug of a particular category.
Note: for the ‘All‘ button that shows all your posts, you only need to add the df-button class.
You now have a filtering blog module!
Additionally, you can style your blog module and filtering buttons or download the 3 layouts I prepared for you as a freebie.
You can also go for the premium version of the Divi Filter plugin to unlock these cool features:
- active button styling
- animations
- pre-filtered elements on page load
- … and more
How to import the freebie layouts
After submitting your email here, you’ll receive an email with a ZIP file. Download the file and unzip the folder.
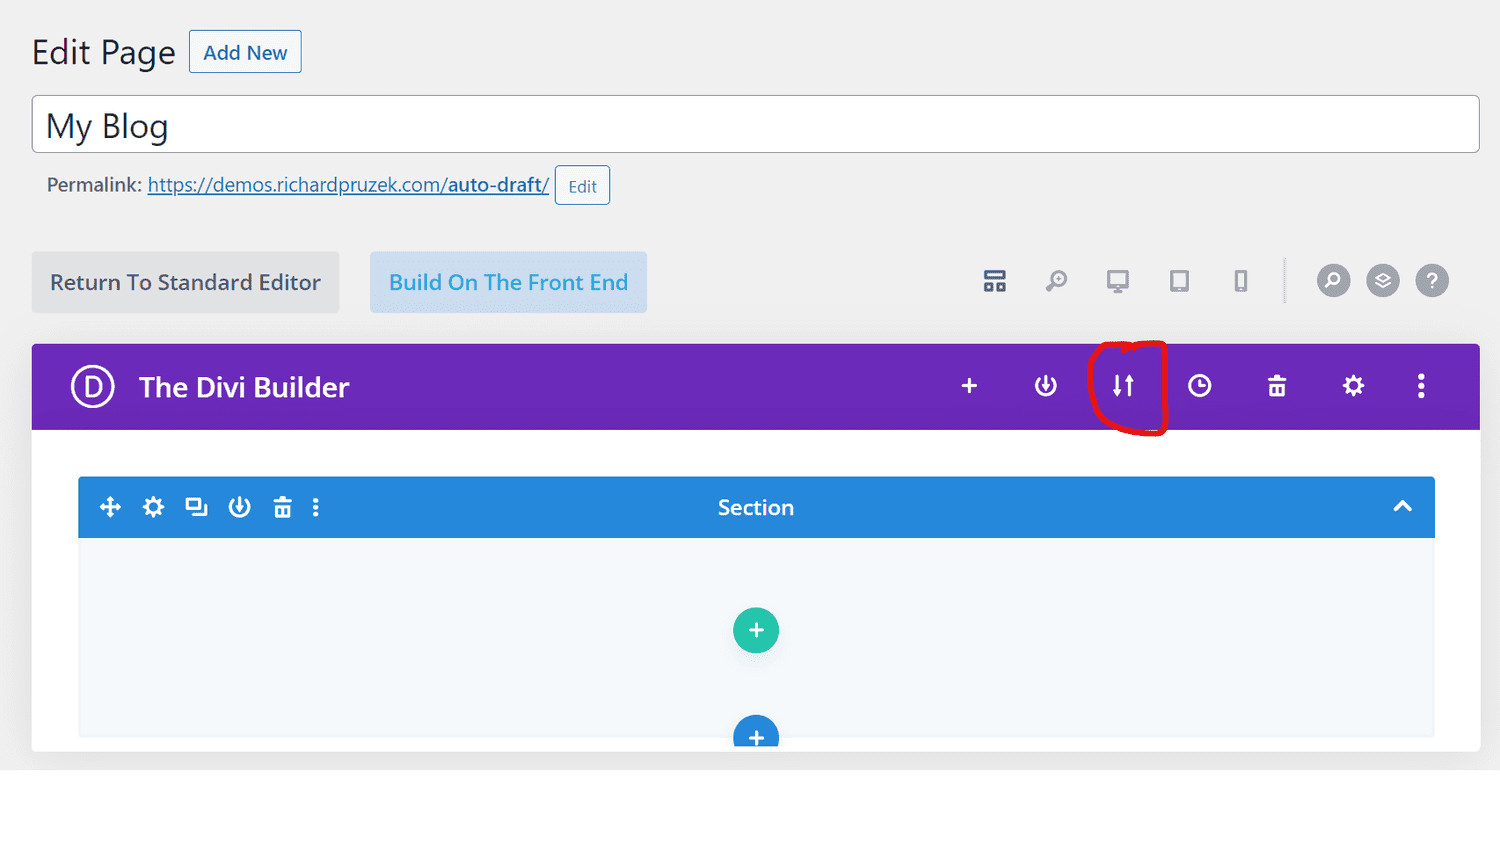
Create a new page (or edit an existing one), enable the Divi Builder, and click on two arrows symbolizing export and import.
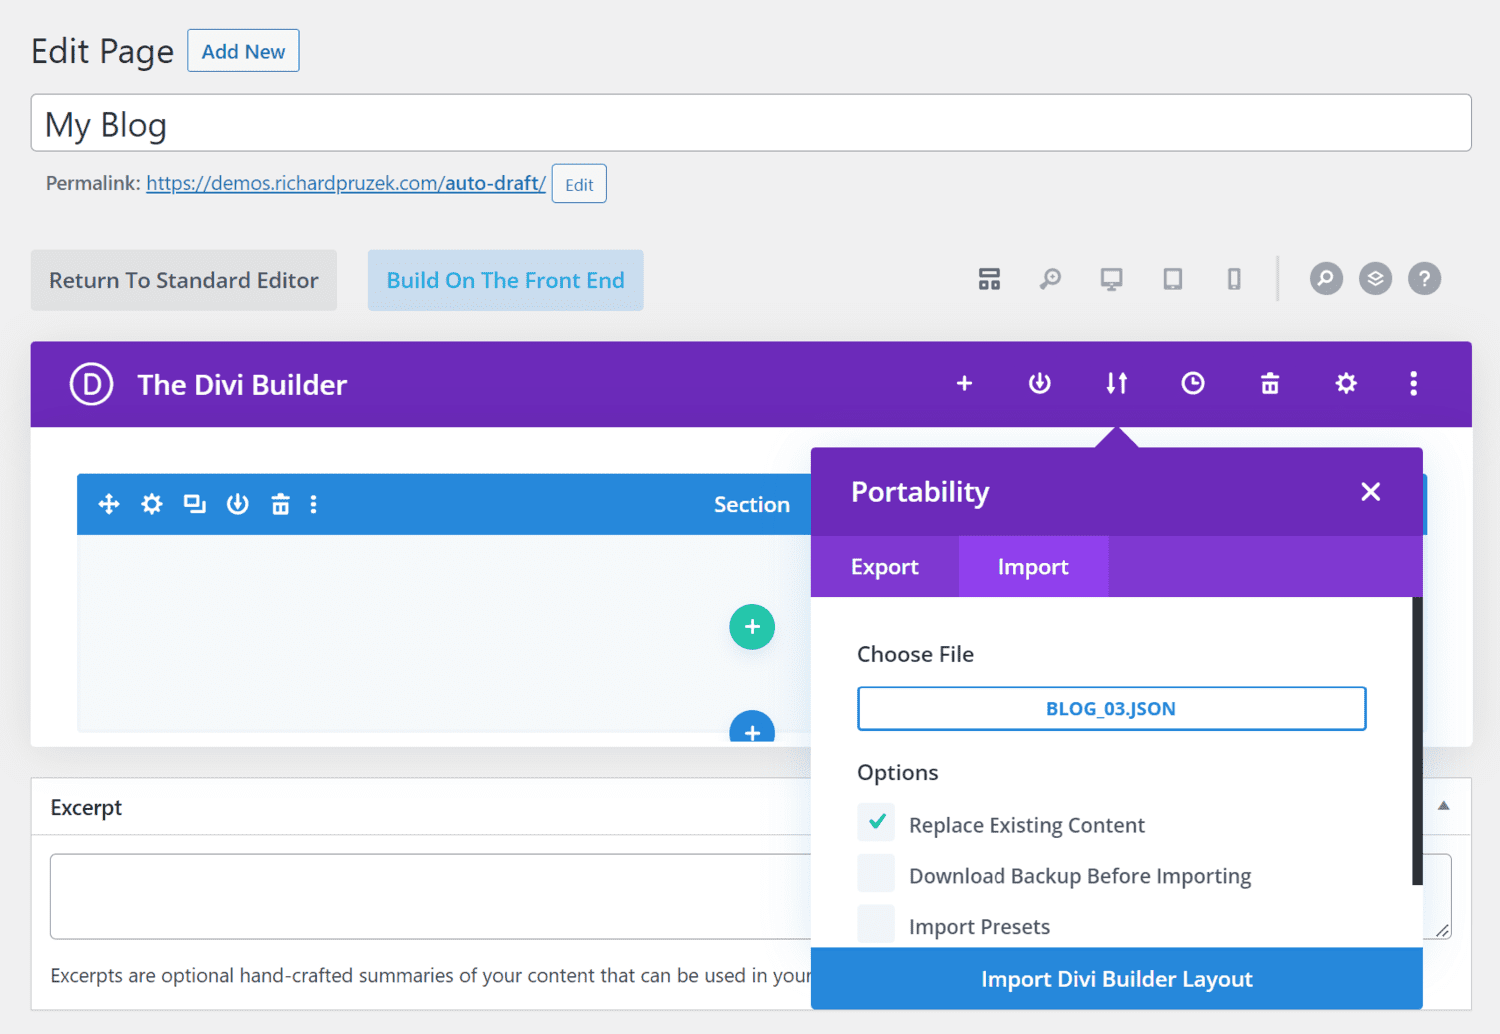
Select import and choose one of the 3 layouts you’d like to import. Click on Import Divi Builder Layout.
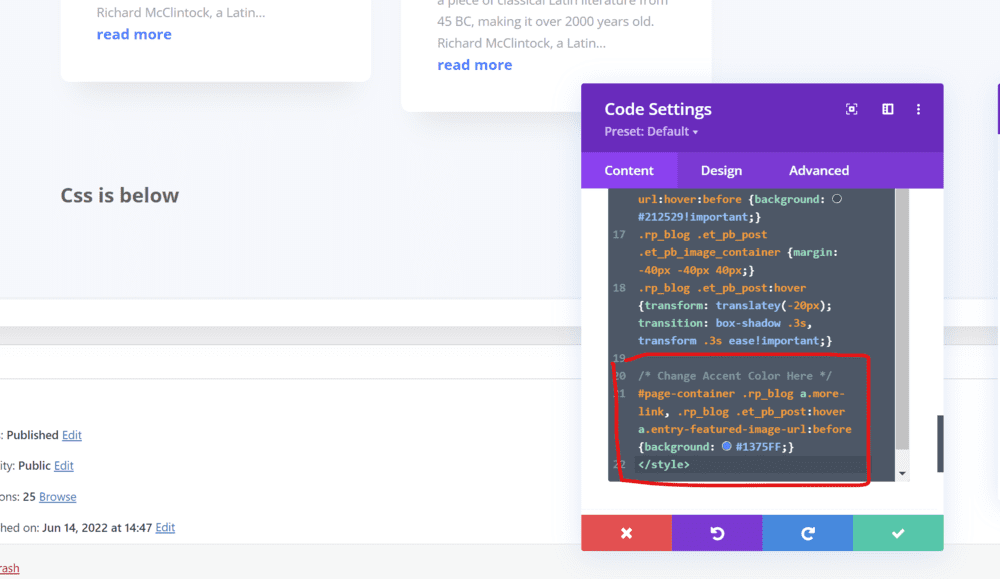
The custom CSS is located at the end of each layout as its last module. If you’d like to change the accent color used, find the code and change the hex code.
That’s it! Don’t forget to create your own posts and post categories and overwrite the particular classes of filtering buttons!


Great tutorial! Thanks for the freebies!
Thanks Petar! I’m glad you like it!:)
Excellent tutorial!
Thanks, Keegan!
Would this work with Custom Post Types as well?
Yes! This should be working for CPTs as well according to the plugin author 🙂
thanks for the great tutorial! The new Divi interface looks different than the screens above, I figured it out. It’s at the bottom of the page now.
Hi Jan! The above screenshots are from using the Classic Editor with Divi. You’re right that the interface looks different if you use Divi in the Visual Builder.
This isn’t working for me. I even tried your freebies and I can’t get them to work either. I submitted a support ticket but I don’t know if here will be faster reply.
Hi Sarah! For faster communication, I recommend sending me a message to info@richardpruzek.com.
Can you please specify what sort of issues you have? I’ll be happy to take a look but would need a bit more information.
stuck on blog section i am about how to design with divi or compatible plugin of wordpress.
Dear Richard, thank you very much for this quality sharing! I wanted to upload the blog_03.json that I would love to use, I tried on several of my DIVI installations, but each time same problem: the bar loads up to 100% once, then displays the green 🗸 symbol ok, but loads again and stays stuck at 100% without anything new happening on the page.
(I tried loading other .json pages and it worked!)
Have you ever had this happen? Do you have any idea how I could access this great template otherwise?
A huge thank you for your generosity!
Auto reply to myself: I found a solution! https://richardpruzek.com/filter-posts-in-divi-blog-module-based-on-category/#comment-52
But the layout works well on safe mode, and then “breaks” (the article thumbnail does not appear on the left anymore) when safemode OFF… so there must be a conflict with some other plugin somewhere!
Hi Alexandra! Sorry for the late reply! I’m not sure what the issue might be, but if you’d still like to get help, please send me an email at info@richardpruzek.com and I can take a look. Thank you and have a great day!
i am following this same tutorial to create filters for elementor posts and i followed the same method as divi but i am using elementor filrer free plugin.
1- created buttons for post categories to filter.
2- under this section i used a post widget from elementor and than give the section class ef-area ef-post.
3- i used ef-button for all filter button
4- i used ef-button efc-europe for europe category.
5- i used ef-button efc-asia for asia category
6- i used ef-button efc-indian-ocean for indian ocean category.
but its not working 🙁
i tried ele custom skin method as well and designed custom skin and gave column the classes which held all design and gave classes efc-europe efc-asia efc-indian-ocean and it didnt work 🙁
for elementor posts filtering to work does premium plugin is a must?
Hi Rehman! I’m afraid that it may work differently on Elementor and I don’t have any experience with the Divi Filter on Elementor unfortunately. Daniel Völk – the author of the plugin – could tell you more.
Dobrý den, Ondro. Zkuste prosím kontaktovat Daniela (danielvoelk.de), který je autorem pluginu. Pořadí css classes u tlačítka nehraje roli. Popř. mi zkuste poslat odkaz na web a mrknu se. Díky a mějte se!
Works like a charm for me. Thank you. My question is the following: is it possible for the category button has its own url. For example can i have an internal link to go directly to “asia” or is it possible to add class (dfc-asia) to the link?
thanks for the reply
Thanks Richard, great tutorial. Got it working like a dream on windows and android but for some reason it doesn’t work on all iOS devices like iPad Air 1, do you have any ideas why this might be? Thanks https://www.ignitec.com/testing-new-blog-page/
Can you disable the Divi Filter plugin and check if that fixes it?
Thanks, Richard! I tried it with a list of CPTs but the filters won’t work using a slug of a custom taxonomy in the CSS class of the buttons. In order to make it work you need to use categories of usual posts. Do you know if there’s a workaround? Thanks!
Hi Richard, is it possible to use both categories and taxonomies to filter? I have a client that wants two different filter possibilities
Great solution. Is that work with the pagination option too? I have the issue with the blog module style when I click on back link
Any Possible way to change the grid from 3x to 4